Spring’s coming, I hope…

Happy to have bits of good news after such a negative post last time. The meeting we had went well and we are now fully confident in our legal status regarding our ability to stay and open a garden on the plot. With a little work we might even be able to sell a lot of our produce onsite. Unfortunately the Community Gardens area was shut down due to insurance complications.

It’s too bad; I think a lot of community members feel we had something to do with this. If they thought it through a step or two they could see that that would make no sense. It doesn’t help us to not have the community garden there. It means less foot traffic and people coming through to see our garden project. We can’t use the community plot which means it’s not even extra space we could use. There were also some concerns about us using community funds/resources to promote our business. I wish…the cost of the greenhouse and electricity was 100% covered by us, and it wasn’t cheap.

Homemade Tomato Sauce

  • 1 ½ Tbsp olive oil
  • 1 large onion diced
  • 3 carrots diced
  • 3 garlic cloves minced
  • 6-7 pounds tomatoes chopped
  • 1 bouillon cube
  • ½ -1 cup water
  • 1 tsp oregano, fresh or dried
  • 2 tsp basil, fresh or dried
  • 2 tsp thyme, fresh or dried
  • ¼ cup milk (optional)


Saute onion and carrots in a large sauce pan over medium heat until the onions are translucent. Add tomatoes, minced garlic, bouillon cube, ½ cup water and stir. Let simmer for 30 minutes then add the Italian herbs. If the mixture becomes thicker than desired add the rest of the water. Stir and let simmer another 20 minutes. If you want creamy tomato sauce add ¼ cup milk and let simmer 10 more minutes. Enjoy this sauce with various recipes.

Moving Forward

It’s an exciting time for the business as we’re slowly expanding and beginning to have a more significant impact around Birmingham. For this post I want to just focus on the two biggest projects we’ve got going on right now.

  • Our main client, Stewart Perry, is getting rid of their old garden space and moving the garden to a new spot on campus. Fortunately for us they asked us to work with them on the design process and we’ve been able to give some input. This is really cool to me because it’s really a sign of endorsement from Stewart Perry. The total cost of this garden has got to be at least $10,000+ and it’s cool that they trust us enough to let us design garden for them, especially since they’re so keen on having things look good. Anyway, when SP decides to do something they do it quickly. They’ve already started the new area and I’ll keep people updated with how it goes but for now here’s some pics.

New Year

I was back home in Hawaii for the past 10 days and didn’t have a chance to update this blog as to the status of the greenhouse and Ruffner Valley Urban Farm in general. First and foremost we’ve officially s The good news is the greenhouse is done! It’s certainly a step down from professional grade but it has proven sturdy and effective thus far. We’ve started some of our seedlings inside and currently they are coming up without any problems. I’ve attached pictures of the greenhouse as well as the seedlings we’ve started.

The whole property is about to go through some pretty major renovations. We hired an electrician to come in and get power back up in the small building by Plot C. We plan on building a small walk-in cooler to store our produce so it will last longer before market. It was a matter of debate whether a walk-in cooler would be worth the expense when just starting out. There are a lot of costs associated with the cooler beyond just materials; we had to purchase a heavy duty A/C unit (18,000 BTU) and we also have to pay for the power to run it. However, we’ve heard from numerous sources that the initial investment is worth it. If you don’t have a cooler most of your produce has to be harvested the day before market. This means you will spend all Friday (assuming market is on Saturday) harvesting and probably won’t even get all the produce you have available. On top of that you have to spend time packaging for market which likely means working late into the night Friday and then getting up early for market on Saturday. With this in mind we think building a cooler would be a valuable experience from both a financial and learning perspective.

Building the Hoop House

The next step in this process is to build a hoop house to start our seedlings in. Building the hoop house involves two major steps.

  1. Clearing the area.
  2. Actually building the hoop house.

Clearing the area wasn’t too difficult but it was very time and work intensive. We had to knock down an old dugout using nothing but a sledgehammer. The wall came down pretty easily but that’s only half the work, moving all the bricks out by hand was probably more physically stressful than the actual hammer swinging. After all the blocks were cleared out of the way we had to get a few posts and stumps out of the ground. Fortunately we were able to use our truck to pull everything out. We didn’t get it on the first time through but after a lot of hacking with a pickaxe and pulling with the truck we were able to get everything we needed out of the way.

Crunch Time

It’s been almost a month since the last post and things have been going well for the most part. My love-hate relationship with the general public continues. I will say that the community meeting went extraordinarily well and that we got a unanimous decision from them to endorse our presence in the community and a zoning exception to allow us to sell our produce onsite.

Why that land is zoned as residential is still beyond me; I don’t make the laws though, I just follow them. At the very least the site is physically starting to look like a productive site; I’ve attached pictures of what it looks like from the roof of the leased building. It’s amazing how much better it looks from above. Throughout that whole digging process it was hard to tell if anything was getting it done. It looked organized but it was nothing compared to what it looked like from above.

Winter is Here

I wanted to address two things in this post: what we actually do in the winter, and secondly I just wanted to write about bok choy.

The number one question we’ve been getting asked recently is, “What do you guys do in the winter?” Admittedly, last year we didn’t have as much to do in the winter and a lot of it was spent simply planning how to improve this year. Now that we’ve got a small plot of our own though, things have changed. It’s also worth pointing out that Alabama doesn’t have a terribly long winter which means there’s less time available than people may think; for example we’ve already started planting Spring 2015 seedlings despite the fact that it’s only early January! We should be able to have that stuff in the ground by early March and from there we’re hoping to get a quick harvest before moving onto the summer stuff which we will begin seeding in a few weeks. So while most people think of winter as ranging 3-4 months, our slow time is really only 1-2.

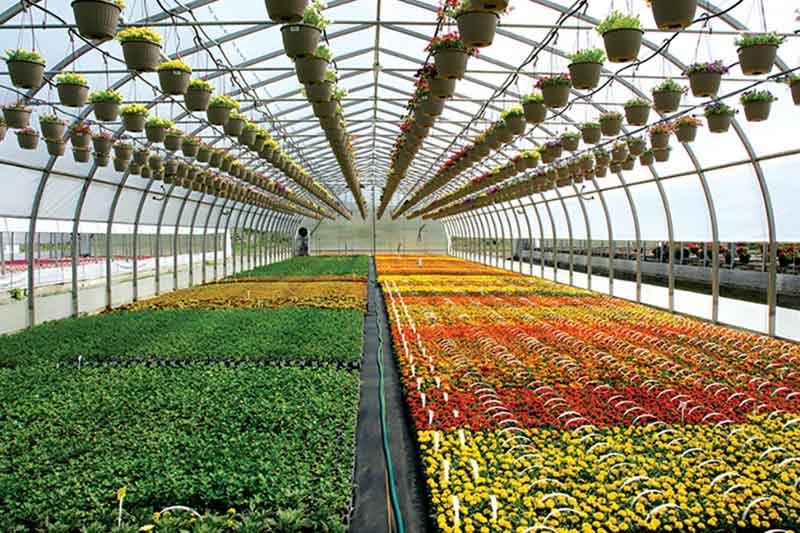
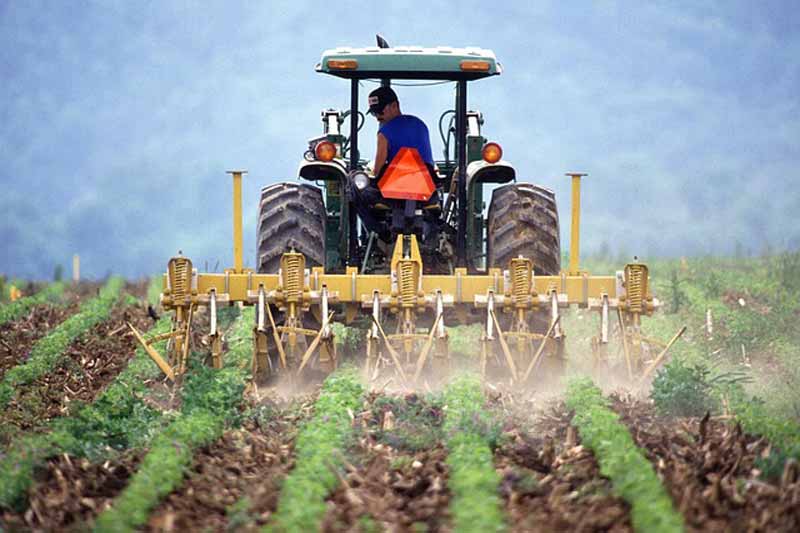
We’ve also been doing a lot of catching up from the summer. There’s been a lot we’ve been meaning to do which we’ve finally got around to. We cleaned and repainted both the downstairs and upstairs of the building we’re using, we’ve moved the grow lights to our own buildings and constructed several tables to hold seedlings, we’ve almost finished tilling the rest of the plot (we’ve now got 90%+ in bed form), we cleaned up the greenhouse and added more usable tables, built several flower beds along the farm perimeter, fertilized most beds, etc. Also, QuickBooks takes a lot longer than you might think when you’re not particularly savvy with computers. All in all we’ve had much more work to do this year than last year which is definitely a good thing. We’re prepping for the upcoming year and I’m optimistic about our aim to double production. Last year we were able to greatly increase production at Stewart Perry (our main client) from year 1-year 2 which I think mostly had to do with just getting to know the growing space a little better. We certainly know our land a little better this time around and I’m confident we’ll get more out of it this year.

Broiled Eggplant Sandwich with Caramelized Onions and Goat Cheese

  • 1-2 small eggplant
  • 1-2 Tbsp olive oil
  • garlic powder
  • salt
  • pepper
  • 1 sweet onion
  • 1 Tbsp olive oil
  • goat cheese
  • humus
  • lettuce
  • sliced tomato
  • tomato sauce
  • pita bread (just about any type of bread will work)

Cut the eggplant into slices. Drizzle with 1-2Tbsp olive oil or until the eggplant is coated (this may require more than 2 Tbsp). Lay the eggplant on a baking sheet. I like to cover my baking sheet in foil so the clean up is easier. Sprinkle each slice with garlic powder, salt, and pepper. Broil in the oven at 400 degrees F until browned. This usually takes about 10 minutes. Once the eggplant is browned take it out of the oven flip the slices and repeat.